Mattel Disney Pixar Diecast CARS: Aroldo Customs Tutorial #2
Have you all completed your Mater customs from tutorial #1?
You must be ready for tutorial #2 …
All you need is some resin material, plastic pipe and soldered brass rod.
(I say that like I know what I’m talking about and not just copied from his email)
😆
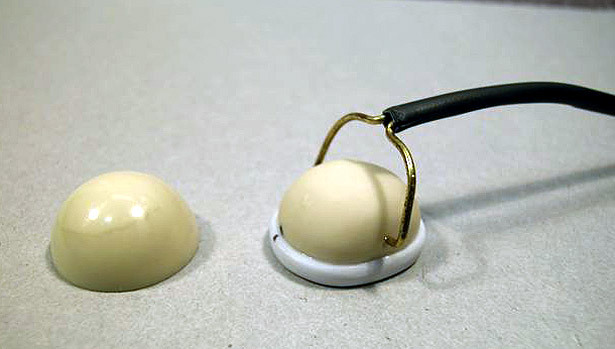
Then make magic.
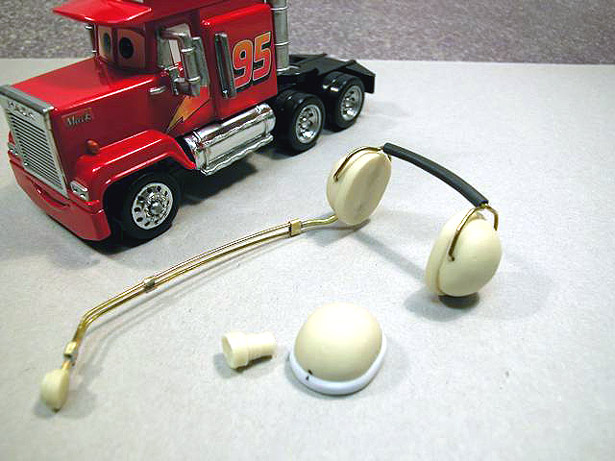
In no time at all (if you’re an artist), here is the finished headpiece.
Then paint to match exactly …
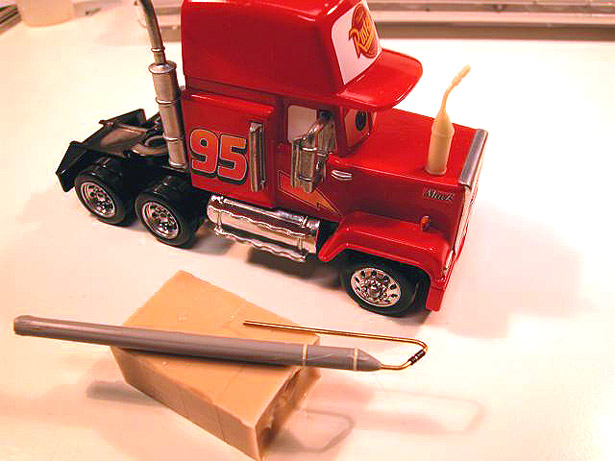
The raw fuel cans – rubber mold, the original master and the resin can resting on the hood.
Got it? 🙂
Pretty much the same instructions for the Sistine Chapel. Visualize. Create. Paint. Touch up. Done.
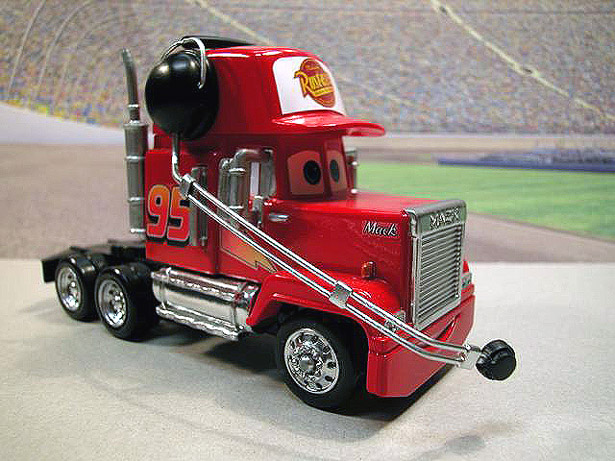
Here’s Mack finished – also with touchup chrome all around.
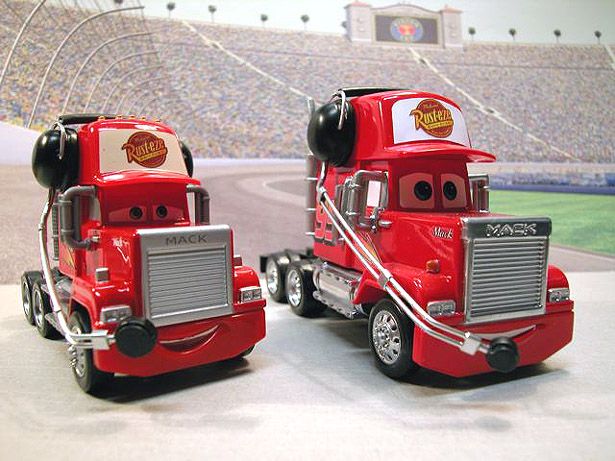
And of course, now that “megasized” Mack is out, Aroldo had to make some new headphones & mike to fit the slightly smaller Mack.
And of course, prior to the ‘hauler’ releases, Aroldo had to make his own …
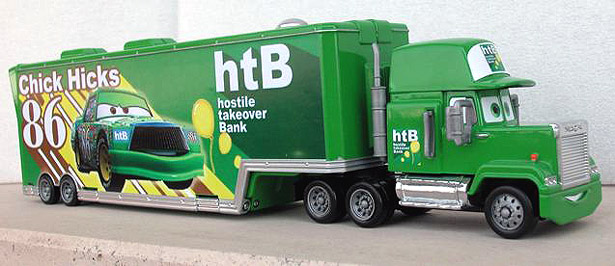
Pretty amazing! Remember, all hand done from scratch! There was NO green truck to start with …
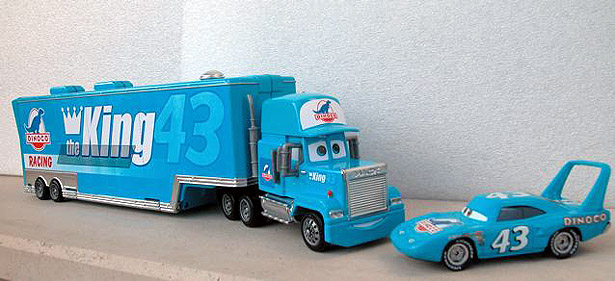
King is stock but Dinoco Blue truck – all from scratch including having to color match.
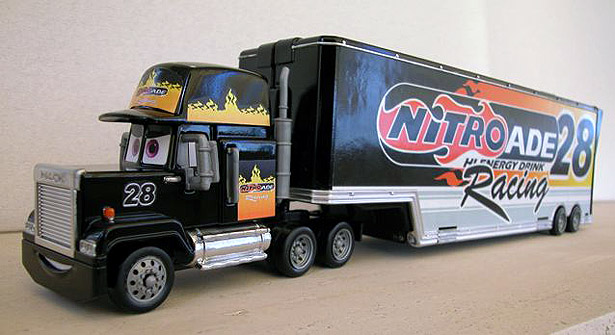
Every detail in place …
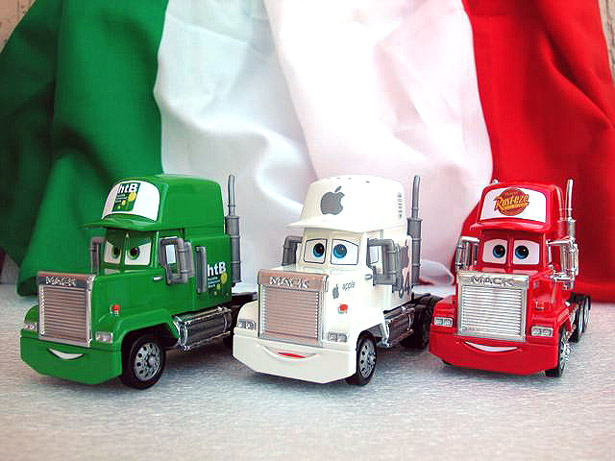
Brilliant and great. Thanks again Aroldo for giving us a peek in the master’s workshop.
| « Mattel Disney Pixar Diecast CARS: G Case Mainline Singles, Yep – Many More McQueen’s … | Mattel Disney Pixar Diecast CARS: CARS Comes to India » |
