Inkjet or Laser Print Your Own Decals …
After seeing Aroldo Pongetti’s Wally hauler turned into the Apple hauler, many are ready to try your hand at it …
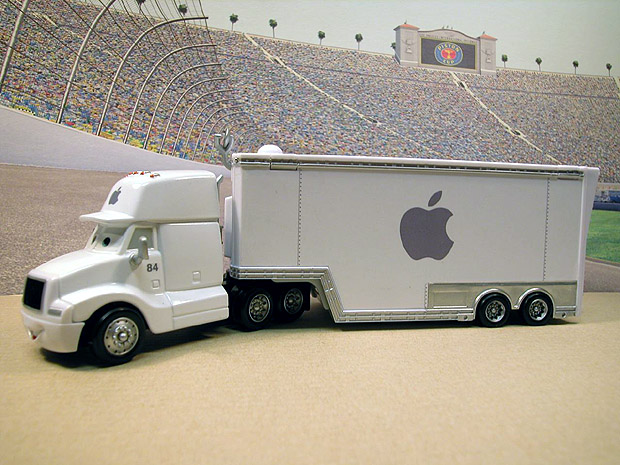
“I removed the Walmart logos on the hat and on the sides with fine sand paper, then masked the parts and repainted first with a white primer coat and second with can glossy white coat. The next step are the decals on the cab and stickers on the trailer.”
Sure, sounds easy … 🙂
Now the decal part?
While I’m not ready to tackle doing a Wally to Apple hauler conversion, I can give you a heads up on the decal paper I used … paper by a company named Papilio and purchased from a company called TexasCraft. They offer a huge selection of craft & design items and the customer service was top notch, so I highly recommend them but I’m sure there are others.
You will have to be slightly computer savvy :- as high res images print out much better – you can get away with less than 300 dpi in some cases but I wouldn’t recommend it.
You will need a pack of the Inkjet Water-Slide Decal Paper.
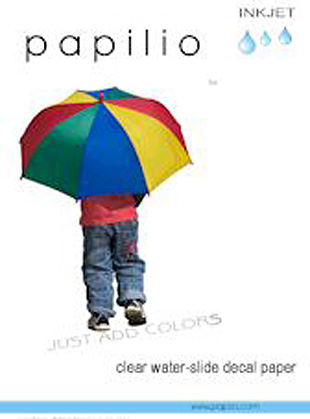
There are two versions – CLEAR and WHITE (back).
The CLEAR comes in packs of 10, 50, 100 and 1,000 sheets – I’m guessing most people should probably start with a 10-pack as a tester but hey, go big 🙂

The white sheets for inkjet printers come in a 5, 10 and 100 sheet. Scroll past the “clear” sheet listings to see the white sheets at the bottom of the page.
If you’re just doing the Apple hauler, clear might be better but if you’re going to do other CARS or projects, white has some advantages in that you can see it on darker CARS backgrounds … for instance, any decals you see on darker color CARs now are all printed on white sheets.
AFTER printing out your artwork, you will need to “seal” the sheet – you will need what they call a fixative, this is what I use:
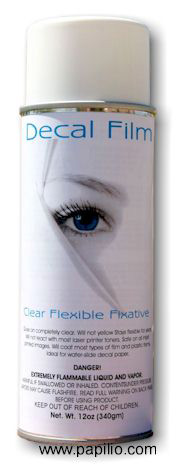 You spray it on to seal it. You will need a VERY WELL VENTILATED room or outside area … NOT FOR KIDS and NOT FOR ADULTS in closed rooms. It’s strong and will quickly make you loopy! :-/
Then let the sheet dry, cut out and place in water. Wait a few minutes and then start to slide it off.
Several warnings. You will need to print out several to a dozen of whatever art you want. I found some of the art colors would run in the water and/or you will need to practice removing the art from the sheet and onto your CAR/object. It is not as simple as it sounds so be warned that it’s not just like print, cut and attach … it will take you a few tries before getting it to work so gauge the number of sheets you bought to test this out … for instance, they have a “sampler” pack with three sheets and another type of fixative and depending on your skills, that might be enough … or in my case, I needed a couple sheets to gauge the right amount of fixative, water removal and placing …
If you have a color laser printer, it also comes in different version for laser printers.

It also comes in from 5-1000 sheet packs (scroll to the bottom of the page – the top ones are for “baking on” the decal … DO NOT BAKE your Wally/Apple hauler … kids, please explain to mom & dad why it’s not a good idea to bake plastic things 🙂 … though if you would like to bake all 7 haulers into one modern art thinger, please send us pictures! 🙂
It’s pretty amazing what you can feed into the inkjet and laser printer now – like make your own printed holograms or your own glow in dark art?
Good luck with ye Apple hauler conversion – send us pics of your brillance and genius!
| « Mattel Disney Pixar Diecast CARS: Come For the Easter Egg CARS, Stay For the McQueen Surprise | Disney CARS Comics – U.S. & International …. » |






A product I use to remove tampos from plastic is “ELO,” or “Easy Lift Off” by Testors. I dip cotton ear swabs, dab onto the tampo, wait a minute or two, then use a fresh ear swab to “scrub” the tampo. Just use slight pressure and you may need a couple of swabs, but it works good. I’ve even used this to remove the color changing paint from plastic cars though it took quite a bit of effort.
If I attempted to do a “Custom” car, things would not be pretty!
A) I am computer illiterate
B) I have NO artistic ability
I bet you could do a Burnt LMQ or a race damaged Nitroade!! Have at er and send pics of the results!!
yeah….. I’ll be leaving this job to the professionals!!!!!
Professional Sticker Printers??? Sounds like a job for nascarFan!! 😳
yeah, I’ve put together WAY too many TMNT toys and Legos that said “some assembly required” that I had to put those stinking stickers on….I so suck at that job… I try to put them on and they end up cricked….whatever!!!! Hated that job, but would take it back in a split second!!!!
I have an Alps printer that prints on laser decal paper. I can print white, metallic colors, and gold and silver foils.
(GASPS) The infamous Alps printer? It’s well known in the model railroading community!
On a side note, I used to do a lot of painting and deacling of model trains. I used Solv-A-Set to “seal” the decals down and get rid of air bubbles. It also helped the decal to fit into smaller finer details on the model. Care must be taken when using this sealant because it literally weakens the decal film to better adhere to the model, too much and it eats the decal. There again, ventilation is recommended.
No1 search on google right now is probably ‘water labels’ 😆
Very nice post. It is added to my favorites. I always wanted to know how to make those stickers.
Now can someone show me how to make a custom plastic cape from scratch? =)
I always thought it would be cool if Mattel made a ‘Build your own’ Cars racer series. They could be be blank racers that come in different colors and a large sticker pack which would include different numbers, sponsors, eyes, etc. You could have a Mood Swing McQueen or Red Sidewall Shine
or even just sell the sticker sheets by themselves.
L & G’s,
FYI, this is exactly how our deco is applied to all your fav Characters. Water labels. The original artwork/graphics are generated digitally in either Photoshop/Illustartor or both then generated and printed on a deco sheet. There is some plate masks/oversprays but only Arnoldo would get this so why bore you?
I rememeber applying these decals on models back in the day when Christ was a kid, now I’m doing the same thing as old as Moses, who knew?
After the labels are applied on a painted surface they are dried, then shot with a clear coat to protect the finish.
Hot Wheels uses another production process which isn’t as nice as our’s.
BEAT THAT! 🙂
I use to build model trains as a kid I would do the undecorated ones. I would paint and decal them. Can’t wait to try this.
also do you use an airbrush kit to do the paintjob?
where do you get the pics for the decals to resize them so small???????
(MET: A lot of the kids books have have shots of sponsors and stickers to scan in …)
Here’s a link to most of the hauler graphics, if that’s ok with MET:
http://www.carsthetoys.yuku.com/topic/1001/t/RED-HOT-HAULER-GRAPHICS-all-hauler-posts-merged.html
i have been trying to print out on sticker paper but the pics are not bright like on the site??any help here?also these decals for the trailers are for the original mack playset size
You may have created a run on Wally Haulers. This process can be used to create any logo for specific liveries. Anybody want to do a Toys R Us, Target, Star Wars, G I Joe. The relative simplicity of the Wally graphics makes it easier to remove than the other haulers.
The key is that the Wally Hauler is easiest because you never have to empty the trailer of any CARS, because WM never has CARS on their trucks!!!
3rd!